
Roxanne
2 mins read
Spring Gardening: Create a Thriving Summer Garden with Ease
Your Spring Gardening List
1. A Good Cleaning
Clear out fallen leaves, weeds, and anything else leftover from winter. Think of it as spring cleaning for your plants.
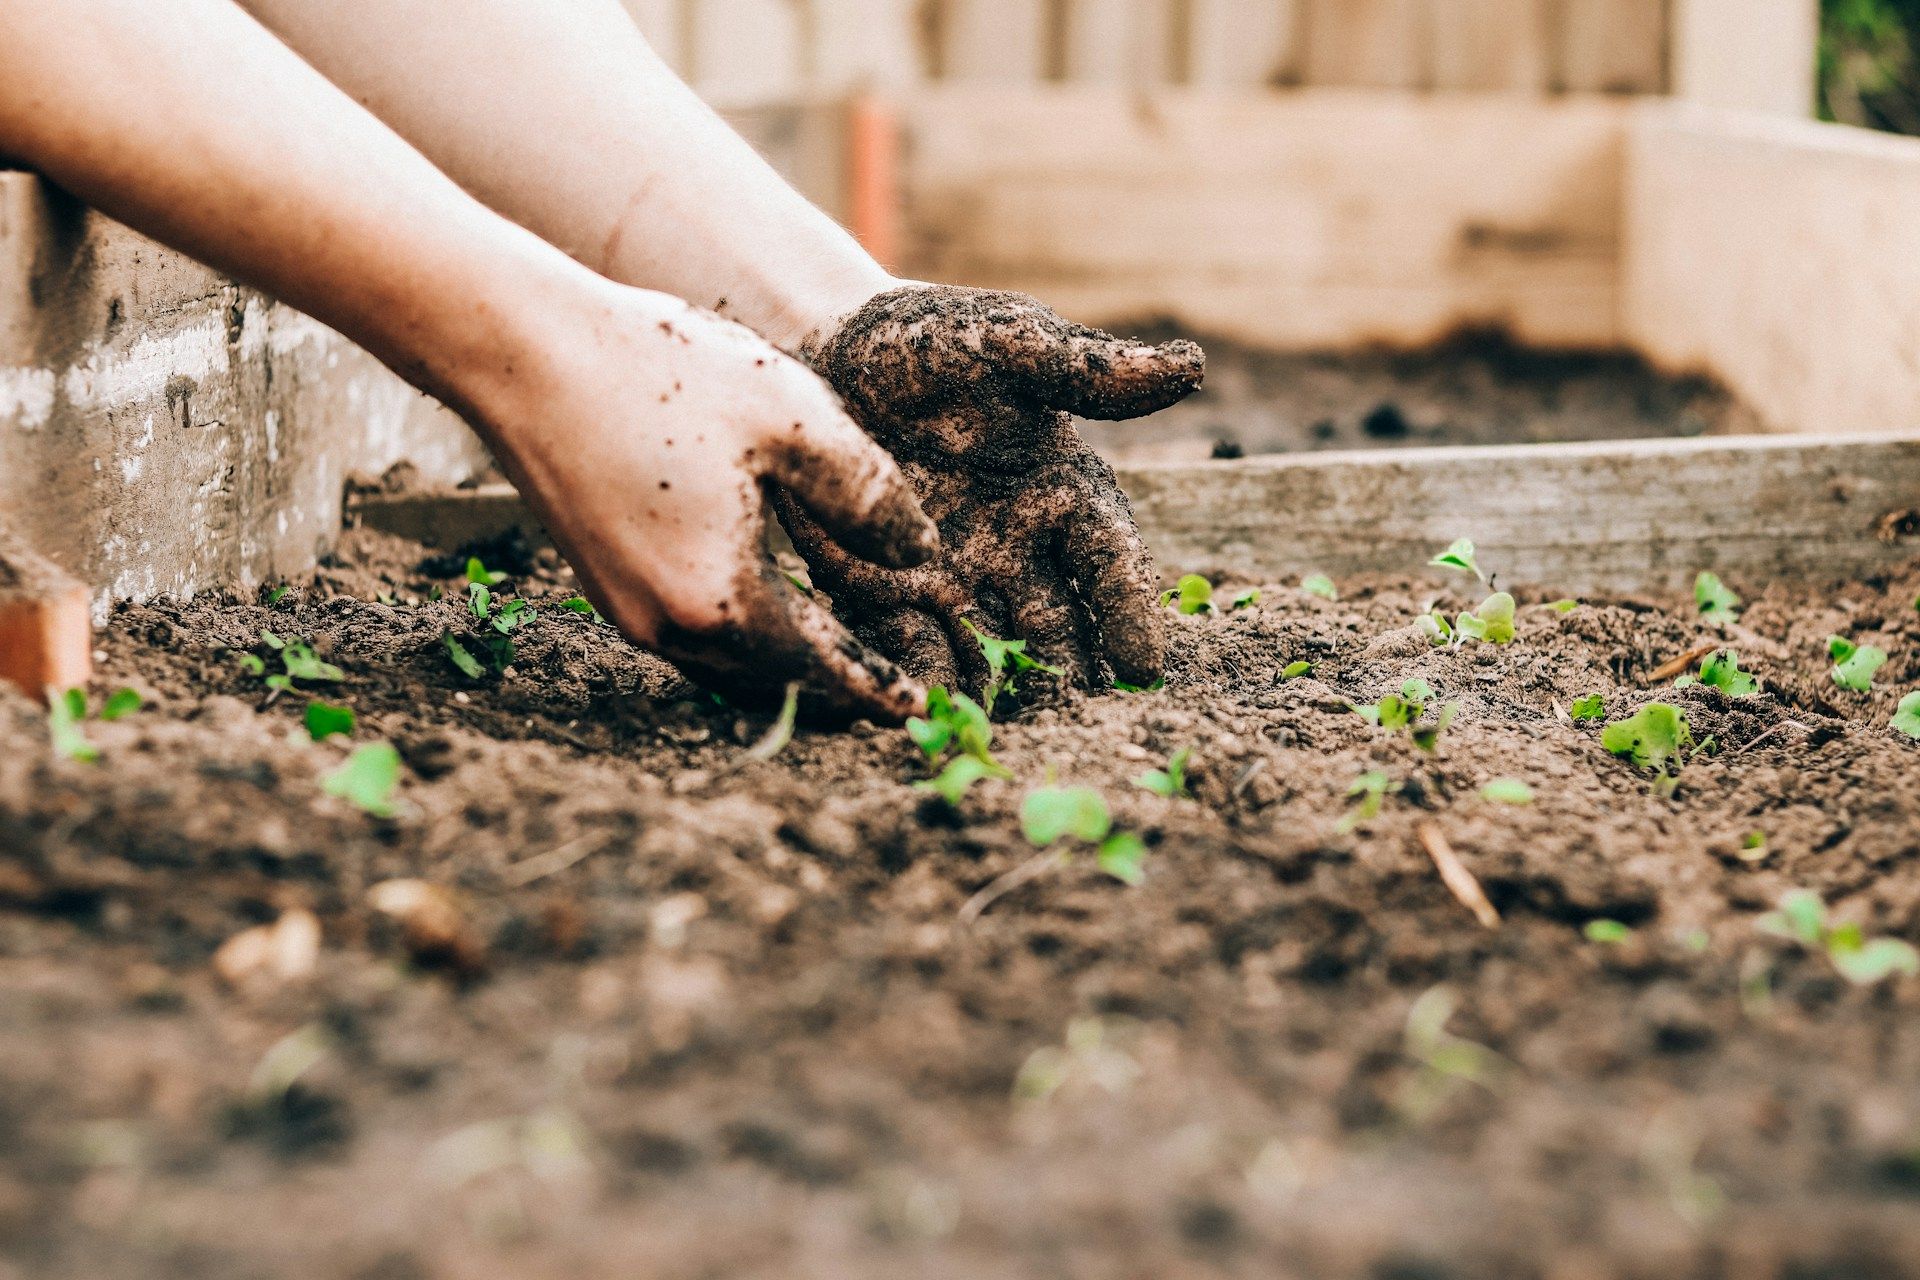
2. Prepare the Soil Base
One of the most important things for a thriving garden is the soil. Aerate it, add new soil, and compost, giving your plants a tasty energy boost.
3. Choose Your Seeds
Decide what you want to grow. Try to organize the plant into categories: herbs, fruit, veggies, or flowers. Read those seed packets carefully—they're full of helpful hints.
4. Time to Plant
Now that you know what to plant, it's time to have fun! Again, follow the instructions on your seed packets.
5. Plant Care
Young plants need regular drinks, especially on sunny days. Keep an eye out for weeds and nuisances.
Indoors Spring Gardening
Start some seeds indoors to get a head start on the season; no need to wait for sunshine and warm soil!
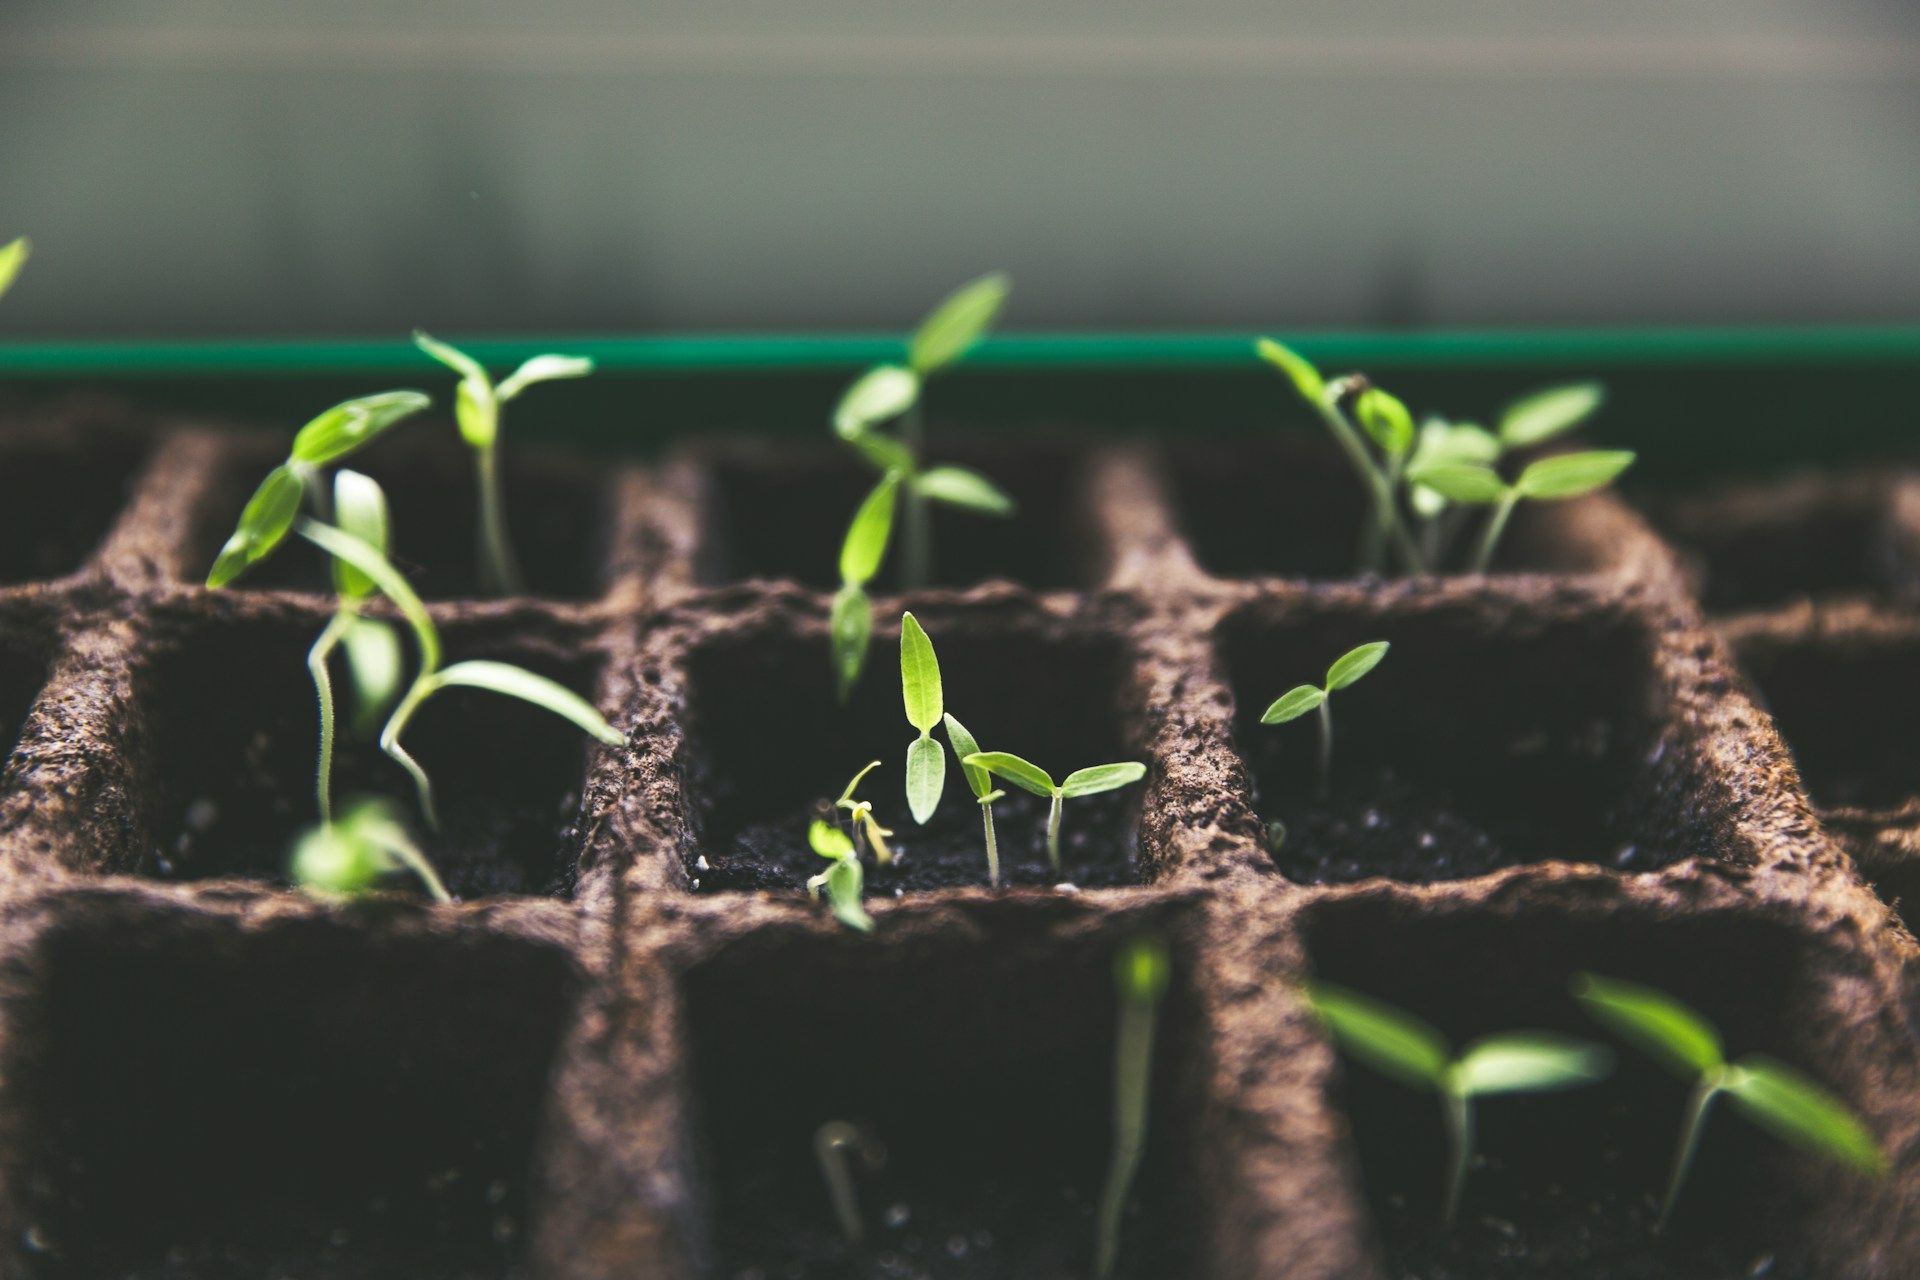 Image by Markus Spiske from Unsplash
1. Seed Selection Tips
Choose seeds that benefit from being started indoors, such as tomatoes, peppers, and eggplants.
2. Gearing Up
To start seeds indoors, you'll need seed-starting trays, a well-lit spot (preferably a sunny windowsill), and a seed-starting mix.
3. Planting Party
Fill the seed starting trays with the mix, following the package directions for moisture. Then, plant your seeds according to the depth information on the seed packet.
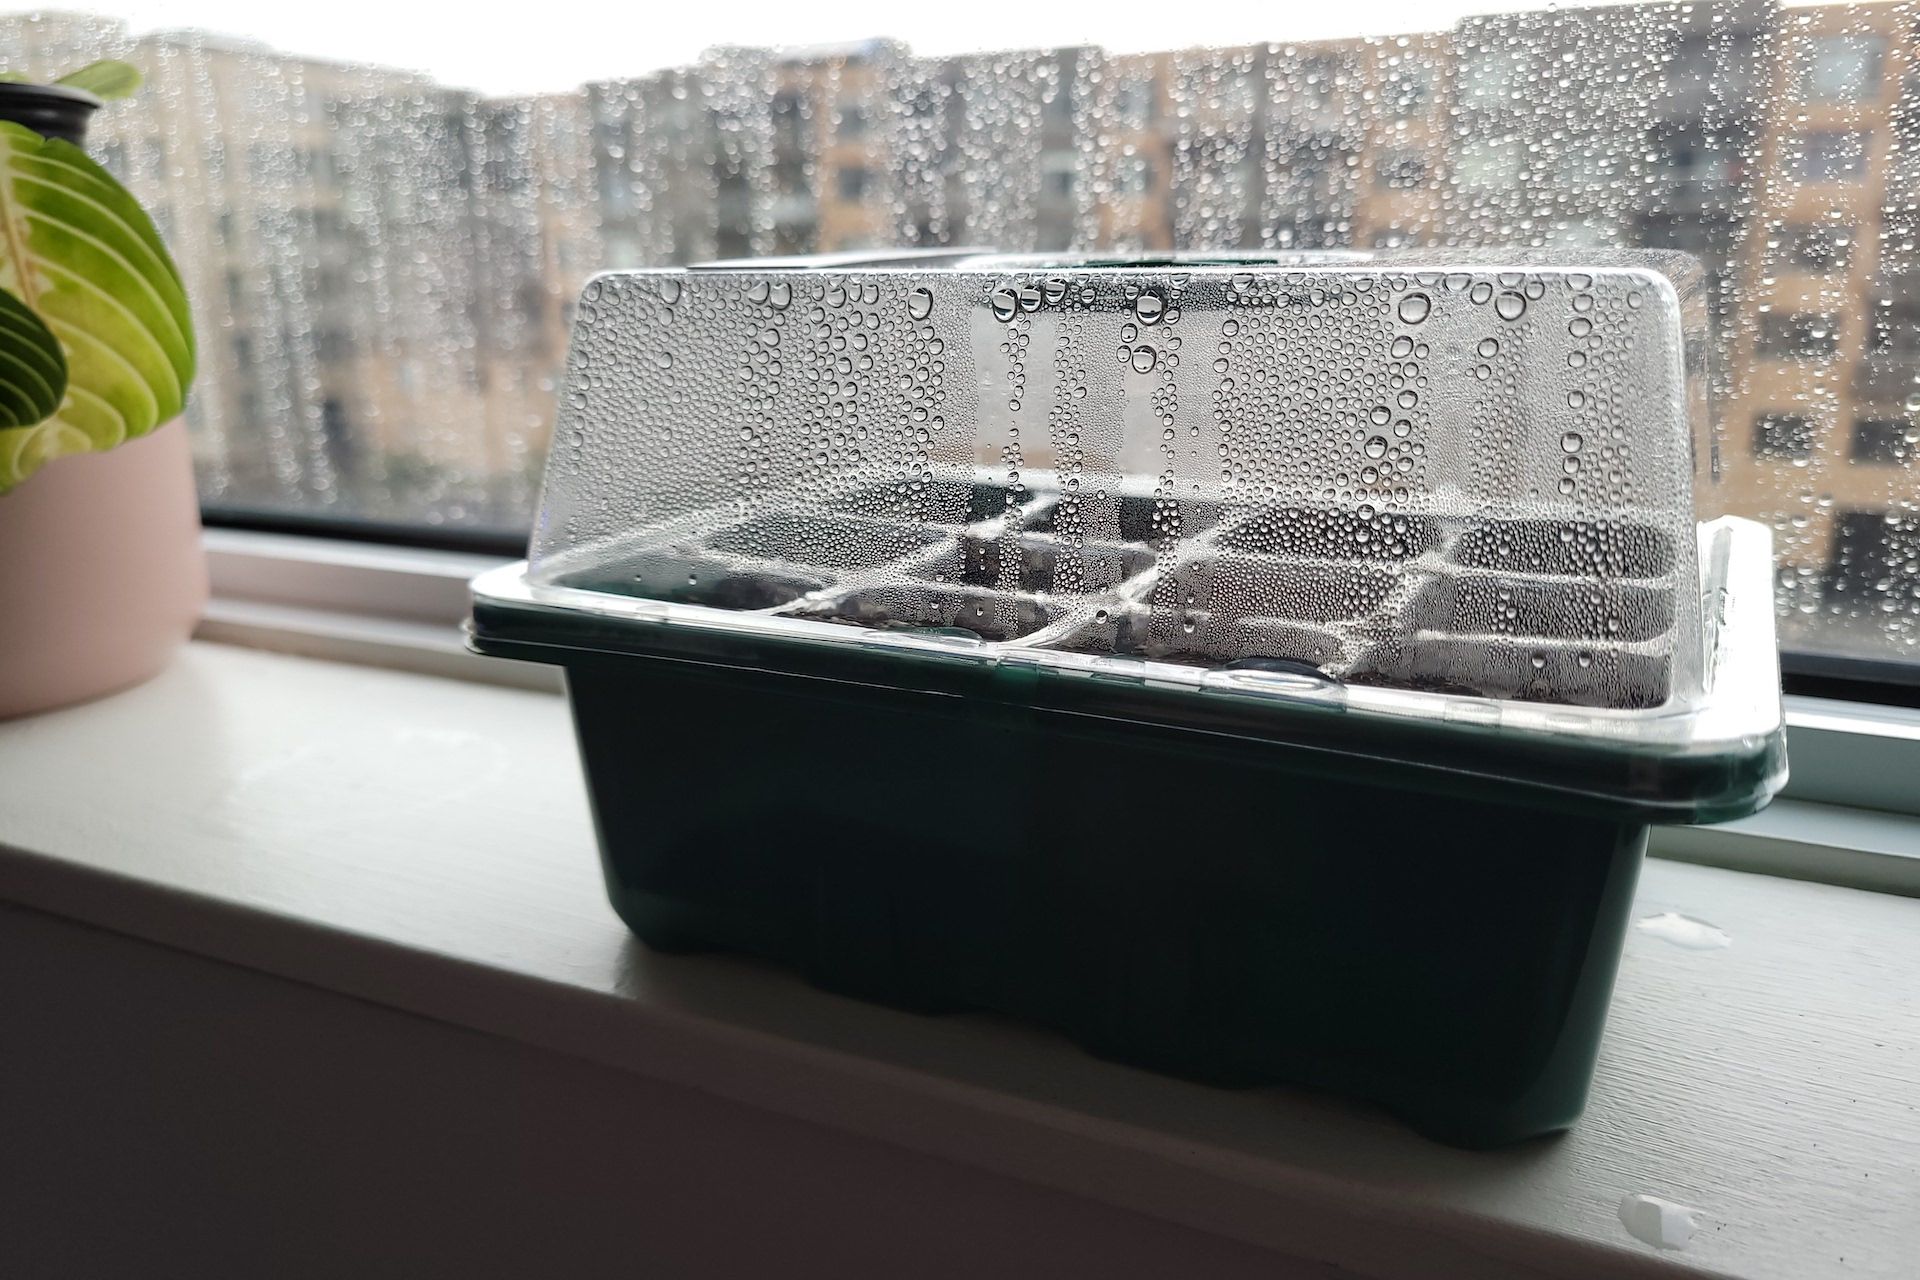
4. Warm and Bright
Cover the trays with plastic wrap or the container lid to keep the seedlings warm and humid. Once they sprout, gradually remove the wrap and give them sunshine
5. Water Watch
Keep the soil moist but not soggy. Gentle misting with a spray bottle works well for young seedlings.
6. Ready to Plant
Once your little sprout squad has a few sets of leaves, they're ready to move to bigger pots or be transplanted straight to the garden if the weather is warm enough!
Get Growing!
Here's your guide to achieving a thriving summer garden. Remember, the gardening journey is just as important as the result. Enjoy the sunshine and fresh scents; before you know it, you'll enjoy your homegrown produce!